
Did you know that an unnoticed escape route for heat in your home could be right under your feet? Surprisingly, around 10-20% of heat loss in an average house occurs through the floor. Addressing this can be a game-changer for keeping your home cosy and slashing those energy bills.
Below we break down the right way to insulate a floor, whether they are suspended timber or concrete. The effort is worth it – you could save up to £145 a year!
In this guide
Why insulate your floor?
There are several benefits to upgrading your floor insulation, including:
Long-term savings
Insulating your floors can significantly reduce heat loss, by up to 20%, making your home warmer and more energy-efficient.
The Energy Saving Trust highlights potential savings of £60 (mid-terrace house) to £145 (detached house) annually on your energy bills. Over time, these figures add up, making the initial investment worthwhile if you intend to stay put over the long term.
Low maintenance
Once installed, floor insulation requires little to no upkeep. It’s a set-it-and-forget-it solution that continues to pay dividends in comfort and savings year after year.
Boosting your home’s value
For older homes lacking modern insulation, this upgrade not only enhances warmth and efficiency but can also improve your Energy Performance Certificate (EPC) ratings.
It’s an investment in your property’s future, ensuring it keeps pace with current building standards.
Identifying your floor type
UK homes typically feature one of two types of subfloor: suspended timber or solid concrete. The latter is more common in new builds and extensions, whereas the former are common in older and period properties.
Each subfloor is insulated in different ways, so determining which you have is crucial for planning your insulation project in line with Building Regulations (see below).
Suspended timber floors
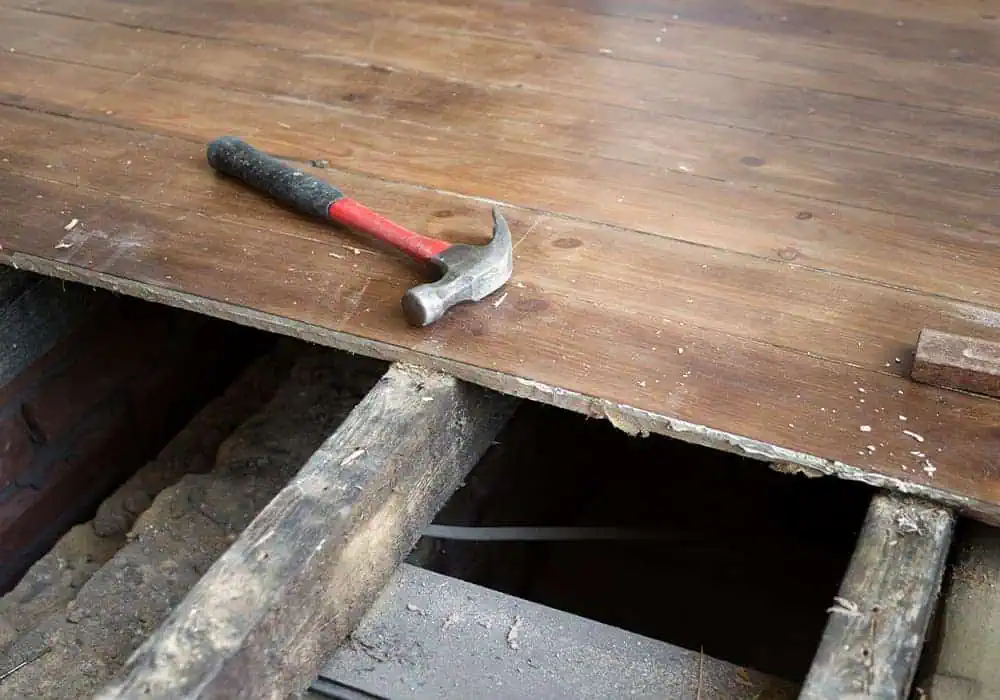
This floor type sees wooden floorboards or panels laid over and supported by timber joists. These joists are raised above the ground, creating a cavity or void between the underside of the floor and the ground below.
This design allows for air circulation within the cavity, helping to prevent dampness and giving us a space for insulation materials to be added for thermal efficiency.
Key features
- Timber joists: these are horizontal supports that span the area to be floored, typically resting on load-bearing walls or beams at either end.
- Floorboards or panels: timber planks or engineered wood panels (think plywood or chipboard) are fixed to the top of the joists to create the floor surface.
- Cavity space: the void between the floor and the ground beneath, which allows for ventilation and insulation. This space can vary in depth but is crucial for preventing moisture accumulation and promoting air flow.
- Ventilation: air bricks or vents are often incorporated into the external walls at ground level to ensure that air circulates through the cavity, reducing the risk of damp and timber rot. These should never be blocked off.
Concrete floors
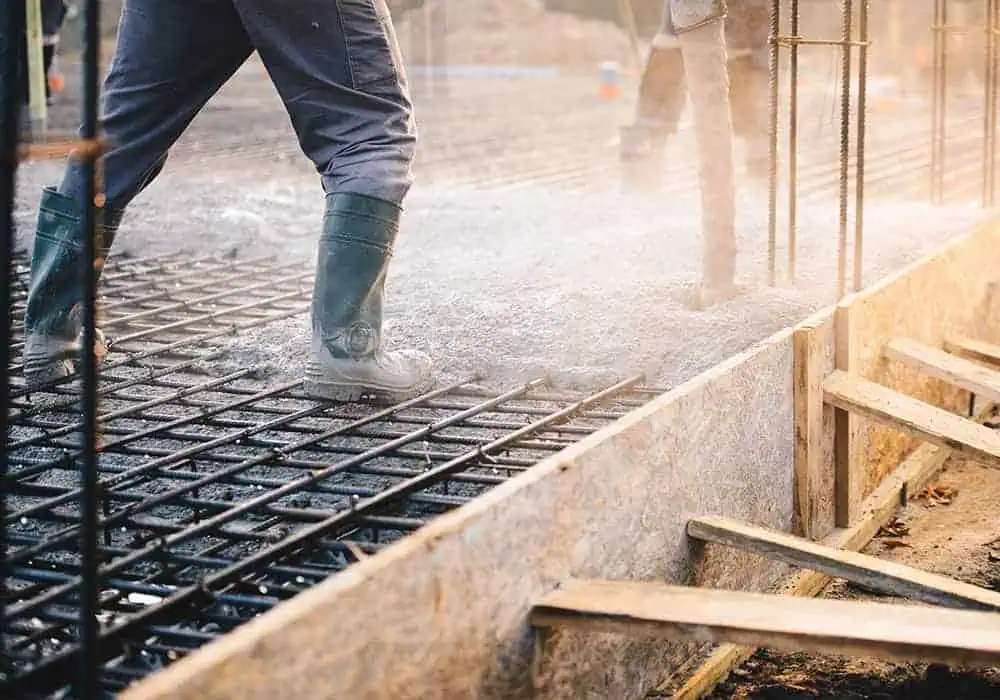
This type of subfloor is created by pouring a mixture of concrete – a blend of cement, water, sand and gravel – directly onto the ground or over a prepared sub-base. Modern concrete mixes are self-levelling and quick-drying, making it an easy and efficient option. This is the reason why you will find them a lot in new build homes.
Once set, concrete floors provide a solid, durable surface that can bear significant loads and withstand heavy use.
Key features
- Solid construction: concrete floors are known for their strength and durability, capable of supporting heavy loads, making them ideal for various applications.
- Thermal mass: concrete has a high thermal mass, meaning it can absorb and store heat energy, helping to regulate indoor temperatures by absorbing heat during the day and releasing it at night.
- Moisture resistance: in conjunction with a damp-proof membrane (DPM) and when properly sealed, concrete floors can resist moisture, making them suitable for areas where dampness might be an issue.
- Versatility: concrete can be finished in various ways, including polishing, staining or covered with traditional flooring, providing flexibility when designing your home.
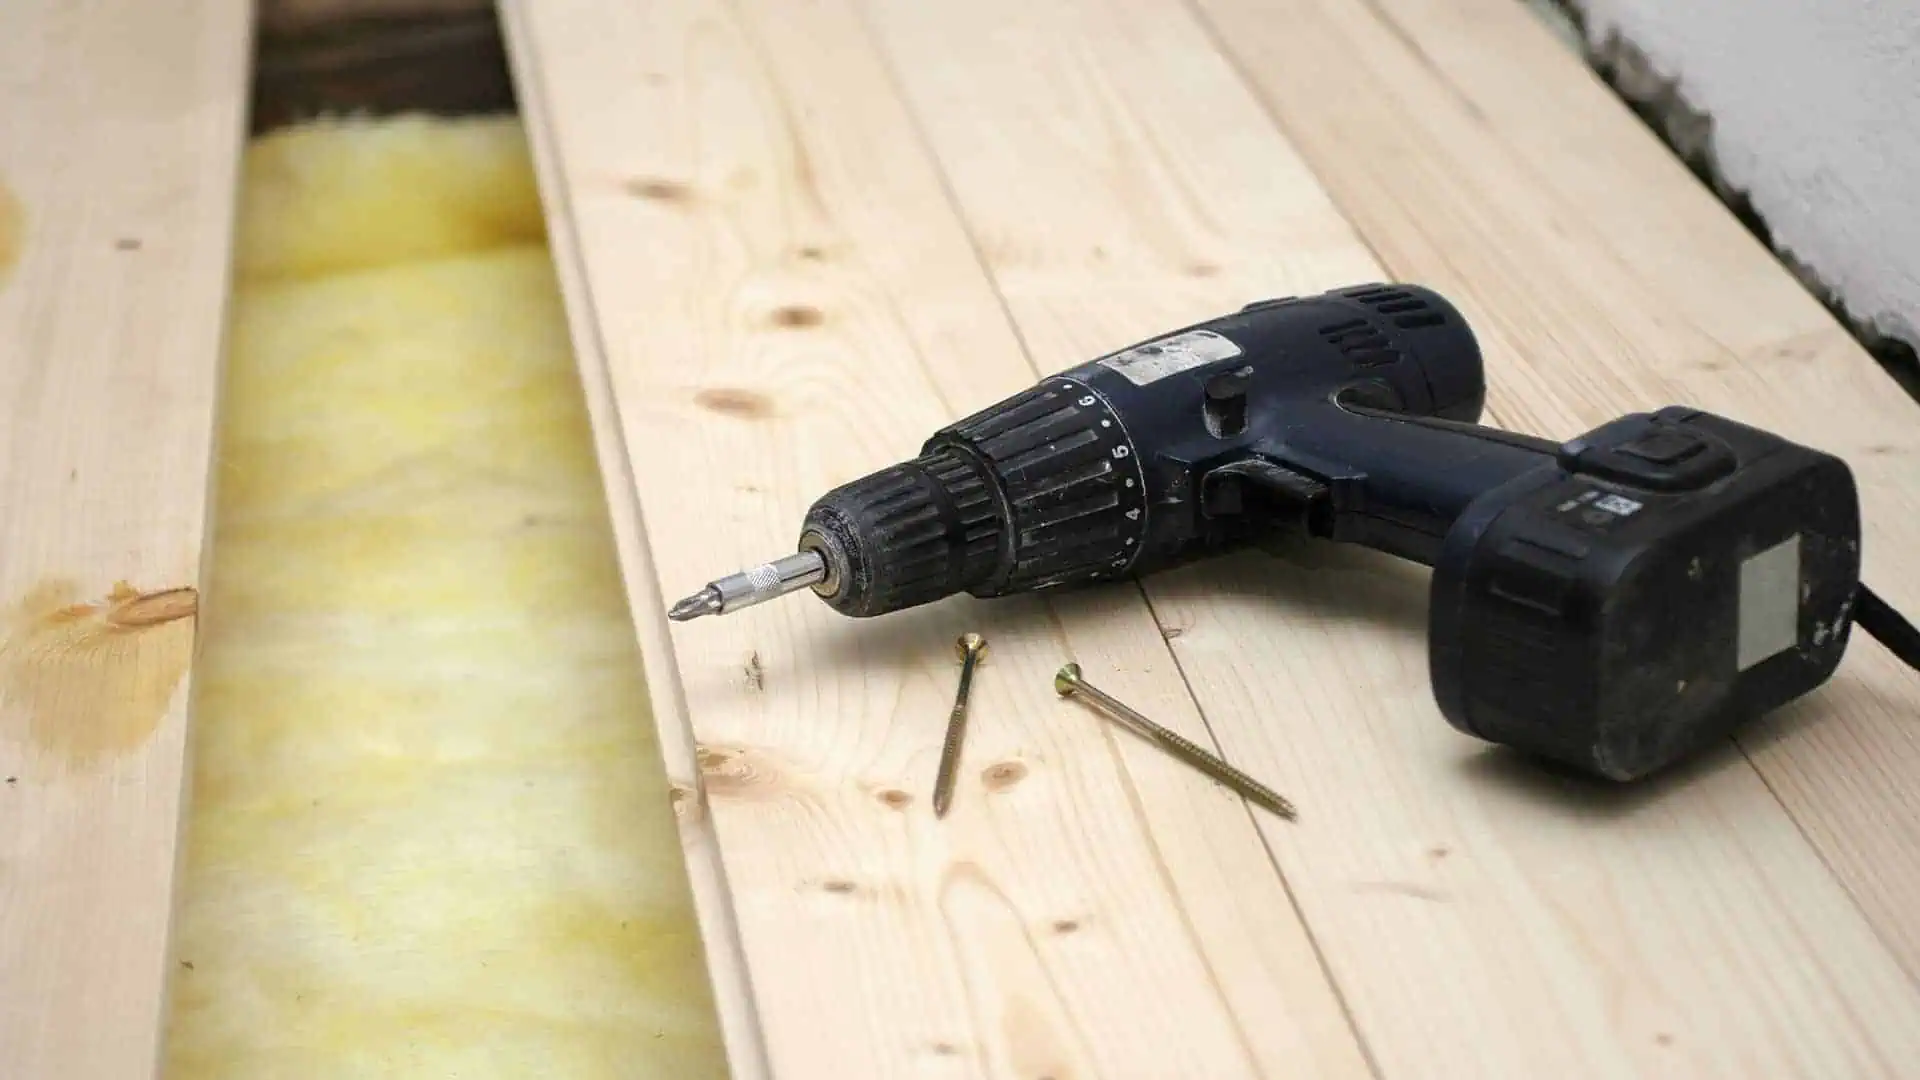
How to insulate a suspended timber floor
Before adding insulation, repair any damage to the joists and/or floorboards that has occurred due to damp, rot or infestation.
Solid PIR insulation boards (think Kingspan, Celotex or similar) or rolls of mineral wool (like you’d use for loft insulation) should then be fitted between the joists, ensuring not to block any air bricks, which are required for ventilation. In many cases, due to the cavity below, this can be done from beneath the floor, meaning there isn’t a need to take up your floorboards.
If the floor you are insulating is above an unheated cellar or basement, you’ll need to fit the insulation snugly between the joists and then secure it in place with netting if required. In line with building regs, plasterboard should then be fixed to the ceiling of the basement to provide fire resistance.
If your suspended floor only has a small cavity or is difficult to access, there are professional companies that can now use robots to install spray-on insulation for you, helping avoid any invasive renovation work.
How to insulate a concrete floor
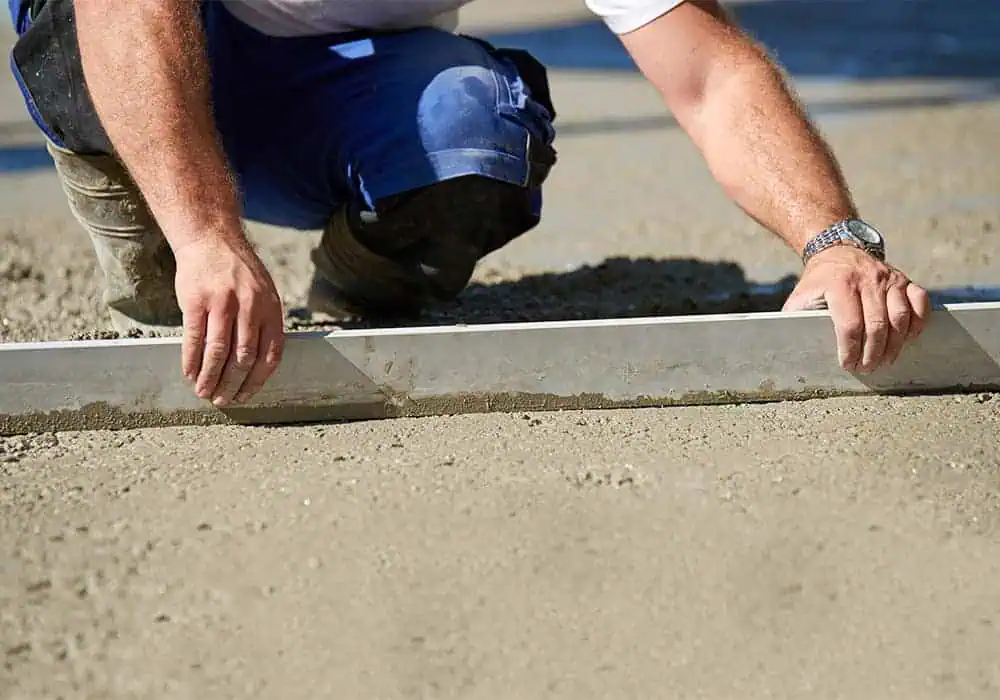
Concrete floor insulation involves adding a layer of insulating material over or below the existing concrete slab – the latter, clearly, needs to be done prior to pouring the concrete, along with a DPM installed.
This process aims to reduce heat loss, making the floor – and the room above it – warmer and more comfortable to live in.
The choice of insulation method and materials depends on several factors, including whether the concrete slab is new or existing, the floor’s height relative to the ground level, and the need for additional features like damp-proofing.
Above the slab insulation
Laying insulation above the existing concrete is the most straightforward method, especially in renovations. It involves laying rigid PIR insulation boards directly on the concrete, followed by a layer of moisture-resistant chipboard or plywood to create a new floor surface.
This method may require adjustments to door thresholds and fixtures to account for the raised floor height. You should also be sure to maintain minimum ceiling heights for building regs.
Below the slab insulation
In new construction or when the concrete slab is being replaced, installing insulation beneath the slab can be more effective, and will likely give you better ceiling heights.
This method involves laying the insulation on the ground before pouring the concrete slab on top. It’s particularly beneficial for achieving a continuous thermal barrier but requires careful planning to ensure proper damp proofing (see below).
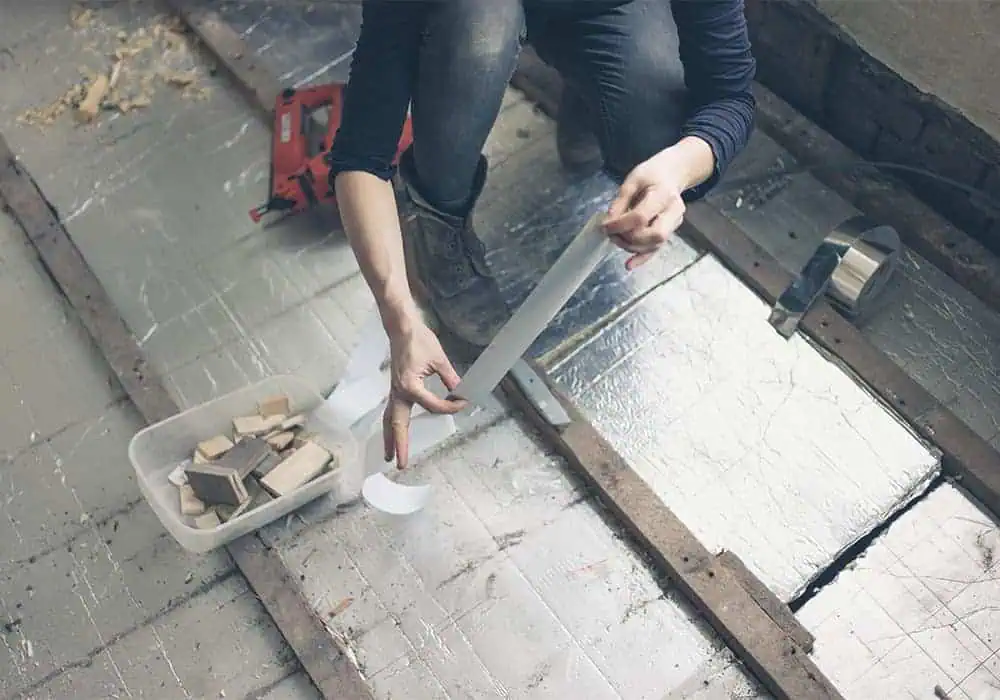
Moisture and damp proofing
Moisture control is crucial when insulating concrete floors. A damp-proof membrane (DPM) should be installed beneath the insulation to prevent ground moisture from penetrating the insulation and entering the living space.
This membrane should overlap with any damp-proof courses in the walls to provide a continuous barrier against moisture.
3 ways to enhance your flooring insulation
Aside from the traditional flooring insulation methods detailed above, there are several things you can do to further increase the thermal efficiency of your floors:
Choose carpet (and rugs)

If you’re serious about reducing your heat loss and want to achieve the highest insulation ratings, then choose carpet over hardwood flooring or LVT. Carpet is thicker and denser than other flooring options, meaning heat has to pass through more material to escape. The upshot is warmer, cosier rooms along with a more comfortable feeling underfoot.
Likewise, no matter what flooring you have installed, adding a large, thick rug is an easy way to add further ballast to your floor.
Install a thermal underlay

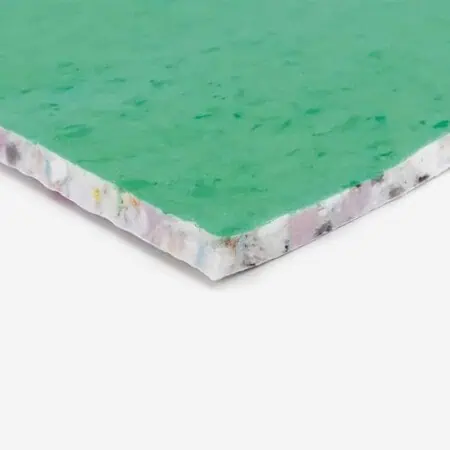
Whether it’s suspended or concrete, installing a thermal underlay between your subfloor and floor covering will add further protection against heat loss. It’s a simple addition with a potential 15% reduction in energy costs.
The type of underlay you install will be dependent on your flooring choice, but the key metric you need to consider here is TOG.
TOG is short for ‘Thermal Overall Grade’. It’s a value that measures thermal resistance, or how effective a textile’s insulation abilities are. The higher the rating, the less heat that can pass through the material. We class any carpet underlay with a 2.0+ TOG rating as ‘insulating’. Typically, these tend to be thicker underlays (11mm+), as heat has further to pass through.
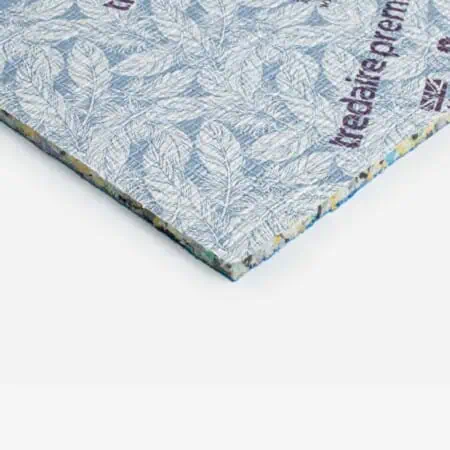
Some of our favourite thermal underlays include Tredaire Dreamwalk (3.13 TOG), Plushwalk 12mm (3.50 TOG), Cloud 9 Cumulus (3.10 TOG) and Tredaire Sensation (2.89 TOG).
Mind the gap(s)
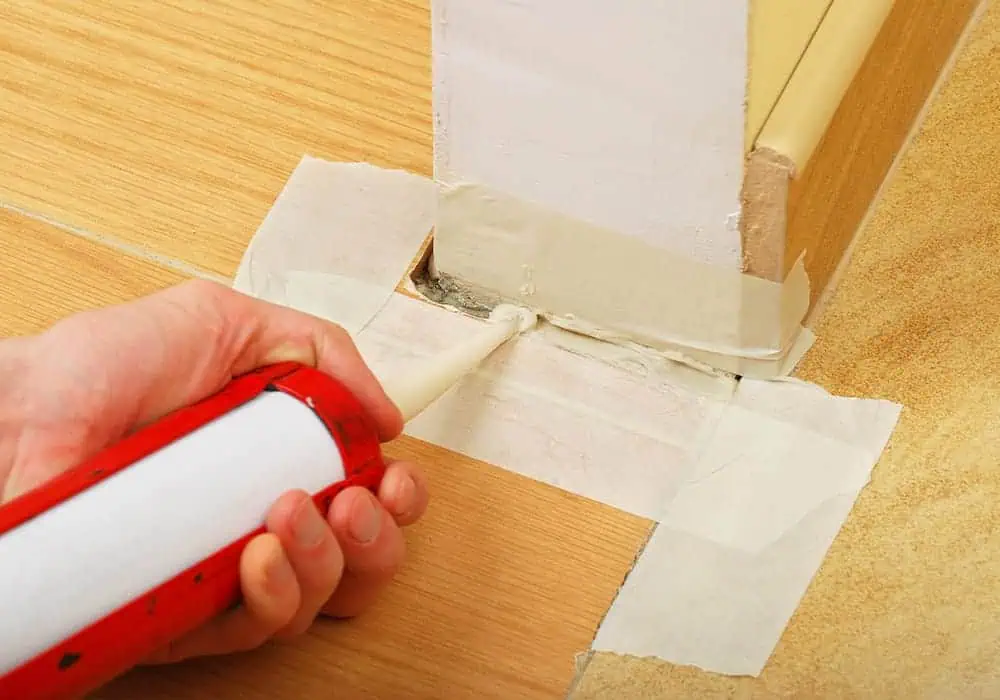
Even the smallest of gaps can cause heat to escape, so the aim is to negate them wherever possible. Here are two ways you can achieve an airtight floor:
- Use silicone sealant to fill any gaps between floorboards and where the subfloor meets your flooring or skirting boards.
- Install metal threshold strips in any door openings to cover flooring joints (typically between rooms).
Both of these things are easy for any DIY’er to do but will help stop any draughts or heat loss.
Navigating building regulations
Ensuring your insulation project complies with Building Regulations is essential. For floors, achieving a U-value of 0.25 W/m²K or less is generally the goal in England and Wales, indicating effective insulation.
The specifics can vary, so consulting with a Building Control Officer or your local authority before starting work is wise.
Welcome to your warmer, more efficient home
Insulating your floors is a smart move towards a more comfortable, energy-efficient home. Whether tackling a DIY project or enlisting professional help, the journey to better insulation is well worth the effort.
With potential savings, increased comfort and improved property value on the line, there’s every reason to consider this essential upgrade. Remember, every step towards a more insulated home is a step towards a greener, more sustainable future.