
Fitting carpet underlay might seem like a daunting task, but it’s a project that’s entirely doable with a bit of know-how and the right tools.
In this guide, we’ll walk you through the entire process from start to finish so you can tackle the job with confidence and save yourself some money on fitting costs.
In this guide
Tools you may need
The right tools not only make the job easier but will also help prevent damage to your subfloor and ensure a better finish. Here’s what you might need:
- Utility knife or carpet scissors/shears: essential for cutting underlay. Ensure they’re sharp for cleaner cuts.
- Hammer: for securing grippers.
- Nail punch: for knocking any protruding nails into the subfloor.
- Pliers: for pulling out old staples from the subfloor.
- Filler/self-levelling compound: to fix any imperfections in your subfloor, depending on the type.
- Dustpan and brush + vacuum cleaner: to clean your subfloor.
- General purpose snips: for cutting carpet gripper rods.
- Staple gun: ideal for wooden subfloors, to fix the underlay in place.
- Straight edge: for precise cutting of underlay. Could be a metal rule or simply a piece of timber.
- Safety gloves: to protect your hands during removal and installation.
Step 1. Uplift & removal
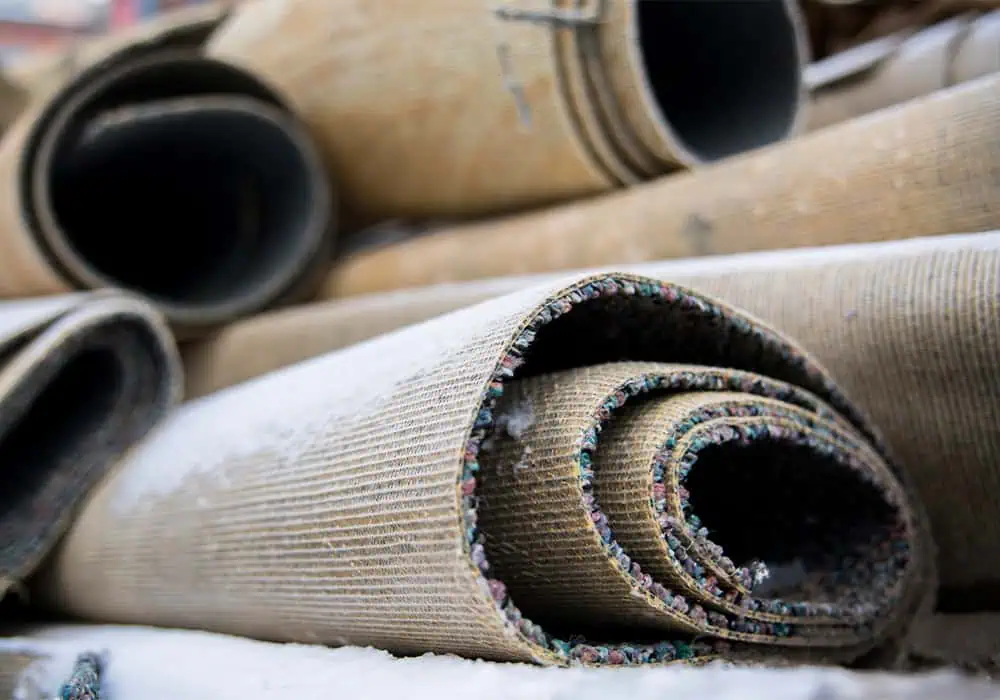
First things first: you need to clear the room that’s having new carpet installed. This will involve removing any items of furniture as well as your existing carpet and underlay.
Fitters can do this for you but it will cost extra – typically £30-50 for furniture removal, and anywhere between £50-100 for an ‘up and away’ service (i.e. carpet removal).
If you want to save the expense, it’s another job that can easily be done yourself, as our guide to removing old carpet proves.
Step 2. Prep the subfloor
After the old carpet and underlay are removed, inspect the subfloor closely. You want it to be smooth, level and clean. Start by giving it the once over with a dustpan and brush and then vacuuming to remove any further dust or dirt.
Once it’s clean and tidy, you should fix and level your subfloor, if required. How you do this will depend on what type of floor it is:
Wooden subfloors
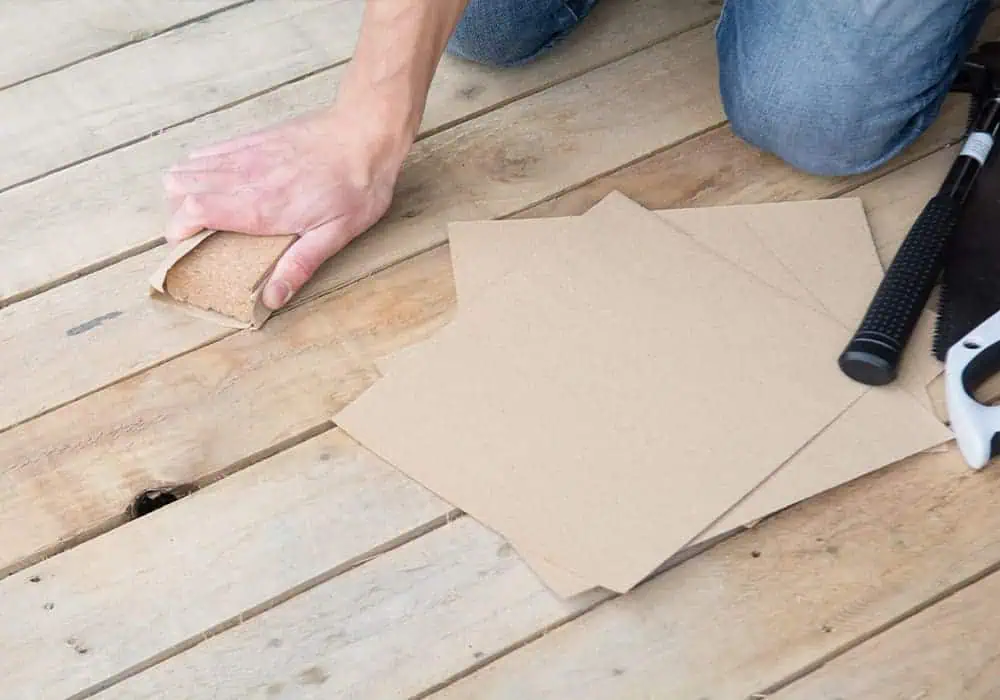
If you have a wooden subfloor – whether it consists of floorboards or sheets of plywood/chipboard – start by nailing/screwing down any loose boards/sheets and replacing those which are beyond repair.
Then, check for any raised nails or screws. The former can be knocked in with a hammer and punch while the latter should be removed or countersunk into the floor. Any staples left over from previous underlay installation should be pulled out using pliers.
If you notice any cracks or imperfections, use a quality wood filler and then sand level once hardened.
Finish by giving your floor another hoover so you have a clean base to work from. Even the smallest stone or forgotten staple can feel huge when trapped underneath a freshly laid carpet!
Concrete subfloors
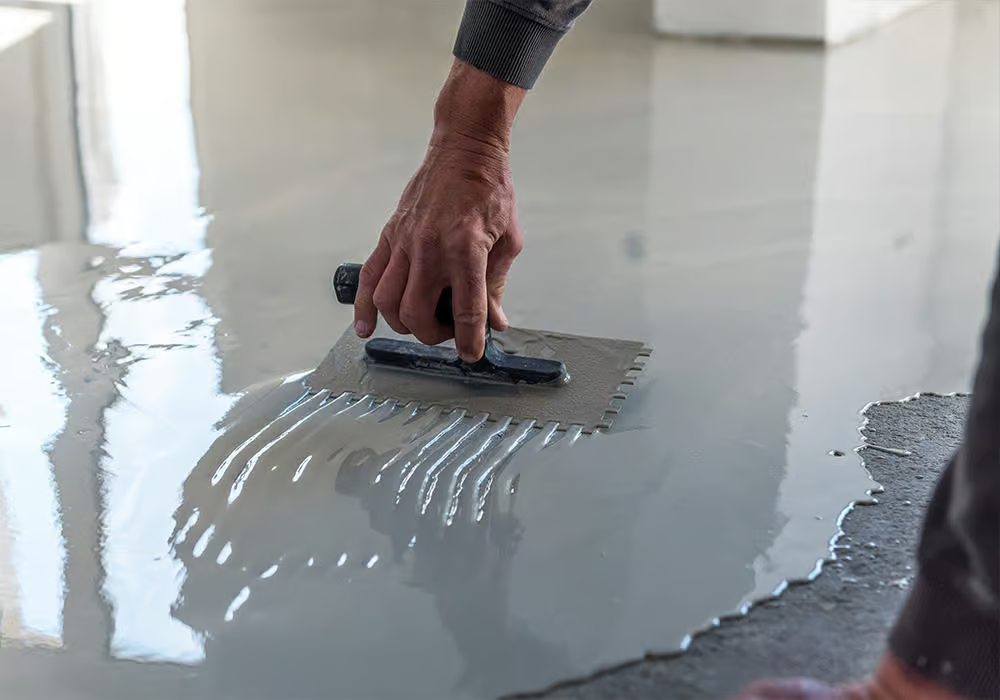
For concrete floors, it’s imperative that the surface is sound and level. Fixing a concrete subfloor will likely involve filling any major cracks and then applying a self-levelling compound to give yourself a fresh, smooth surface to work from. Experienced DIY’ers may feel comfortable taking this process on, but if you don’t then it’s best left to a professional floor fitter or builder.
The other key thing to consider with concrete subfloors is moisture and damp. If it’s a newly poured subfloor, you should use a moisture meter to check it has dried thoroughly before laying your underlay and carpet. A reading of 3.5 – 4.5 % is generally considered ‘dry’.
Older homes may also suffer from damp, so it would be prudent to use a moisture meter to check for any potential issues (and have them fixed professionally) before you cover up the subfloor again. Trapped moisture can lead to mould and mildew forming underneath your carpet, which isn’t healthy for anyone.
Step 3. Fit any accessories
There are a couple of accessories that may need installing as part of the carpet fitting process, which should be done before laying the underlay.
Carpet gripper
The first is carpet gripper. If you’re replacing carpet for carpet you should find you already have these installed around the perimeter of the room. In this case, all you need to do is check they are in good condition as they can be reused.
If they aren’t, or you would prefer to install new (which is good practice), then consider the following.
Types of carpet gripper
Carpet gripper comes in a variety of forms, but the three you should concern yourself with here are:
- Wood gripper: this gripper features tempered fixing nails that provide an extremely secure grip when hammered into wood. These types of nails don’t penetrate concrete well, so should only be used on wooden subfloors.
- Concrete gripper: this gripper features masonry fixing nails, which can be hammered into concrete more easily. However, they won’t grip wood securely and therefore should only be used on concrete or screed subfloors.
- Dual-purpose gripper: this gripper features ‘dual-purpose’ fixing nails, which allows them to be hammered into both wooden or concrete subfloors. If in doubt, buy dual-purpose.
How to fit carpet gripper
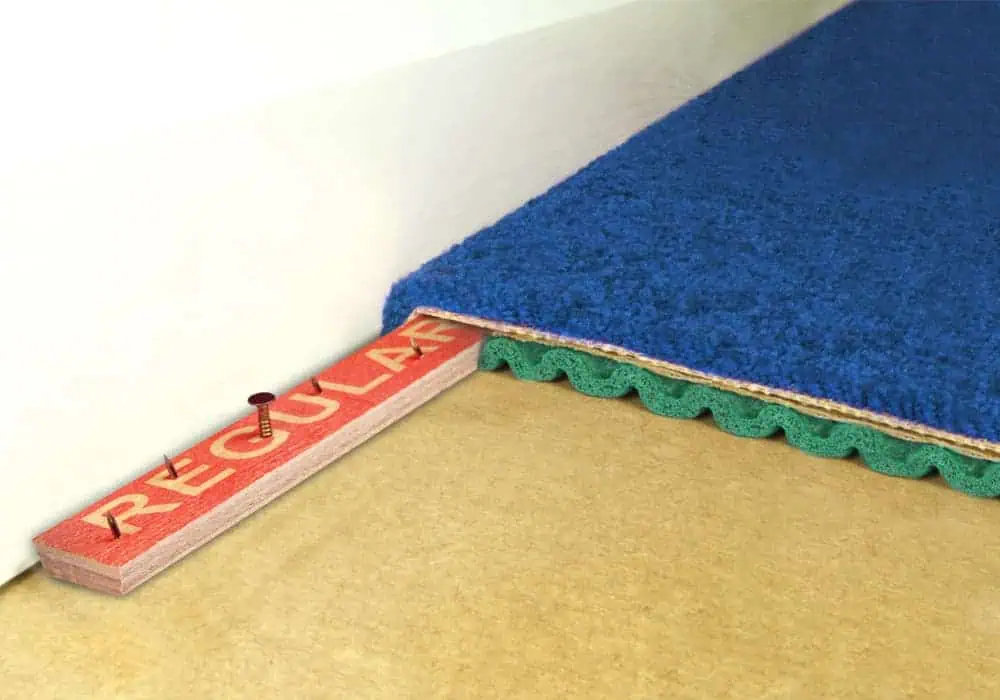
The pins on the gripper rods are sharp so make sure you wear safety gloves when handling and installing them.
You’ll find the gripper is slightly angled along one edge and the pins that grip the carpet are also angled in the same direction. The angled side must face the skirting board as the pins are what will hold your carpet in place.
Expert tip: lay the gripper around the room so that the name printed on it can be read – this will ensure the angled edge is always facing the skirts.
To fit:
- Position your carpet gripper so the angled side sits around 7mm from the skirting board. This gap is where the carpet will be tucked into after trimming for a neat finish. If your carpet is particularly thick you may find you need to leave slightly more gap so it’s important to check this before laying out the gripper. To maintain a consistent gap around the perimeter of the room try using a 7mm spacer, such as a piece of timber.
- Once positioned, hammer the first gripper rod down into place. If you have a concrete floor and find the nails won’t fasten securely, use a flooring adhesive to get a firm fix instead.
- Work your way around the room, butting up extra lengths where required. If you need to cut the gripper to size, you can use general-purpose snips for this. If you don’t have any to hand, a hacksaw and vice can be used.
- Make sure that the entire perimeter has gripper installed, except for any doorway openings. Here, your fitter will need to install an appropriate door threshold strip, and the design you choose will be determined by the flooring that meets either side of the door (whether carpet-to-carpet or carpet-to-hard floor).
Floor lining paper
This step is optional and predominantly applies to older properties with wooden floorboards.
Modern vacuums are extremely powerful, which means the suction can cause any dirt lying beneath your floorboards to be sucked through your underlay and carpet backing, causing stains on your beautiful new carpet.
An interliner is an additional paper layer that’s designed to prevent this from occurring. It also helps negate updrafts, improving thermal efficiency.
How to fit floor lining paper
Fitting floor lining paper is easy and worth the relatively little time and expense required:
- Start by laying your interliner paper in rows across your floor area (cutting to size using scissors). Make sure you overlap each row by an inch or so.
- Use a good spray adhesive to stick the edges down and then go over with a staple gun to secure. If you’re dealing with a concrete subfloor, use your adhesive instead.
- Once laid, tape up any joints using duct tape or similar to prevent the paper from moving or sliding out of place.
Step 4. Lay the carpet underlay
With all the necessary prep out of the way, we’re finally ready to lay our carpet underlay.
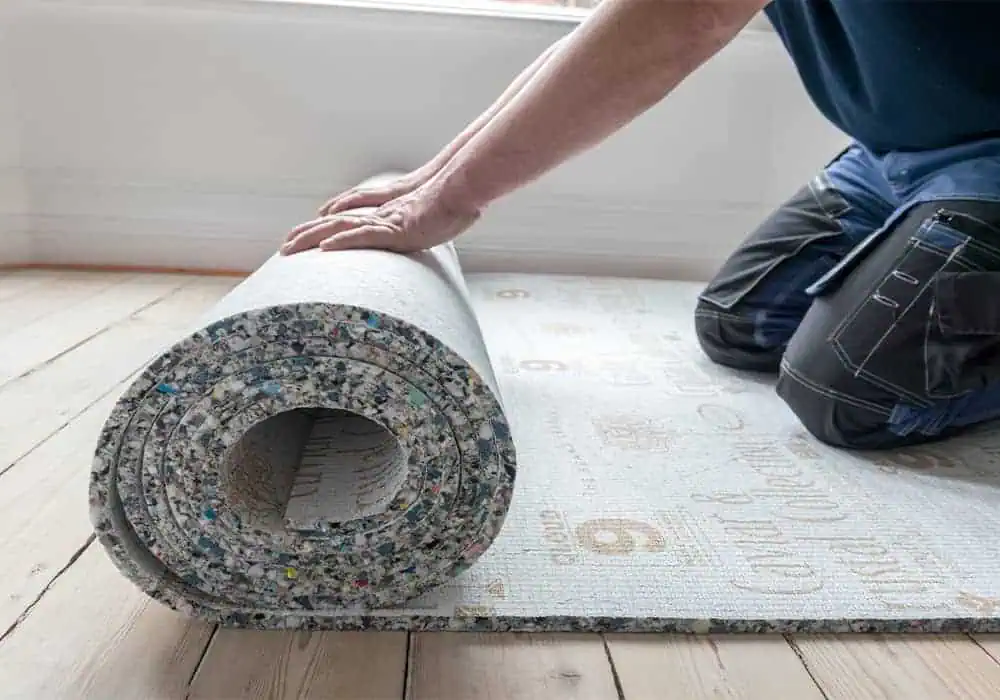
To start, take the first roll of underlay, position it on one side of the room and roll it out until it reaches the other side. When rolling out the first row, one side of the underlay should butt up tightly to the inside of the carpet grippers on the perimeter. Keep it as tight as possible to the grippers without overlapping.
Which way up?
Unsure which way up to lay your underlay? Read our guide on the subject. As a rule of thumb: any branding or backing should be facing up into the room, with the rubber or foam side facing down towards the subfloor.
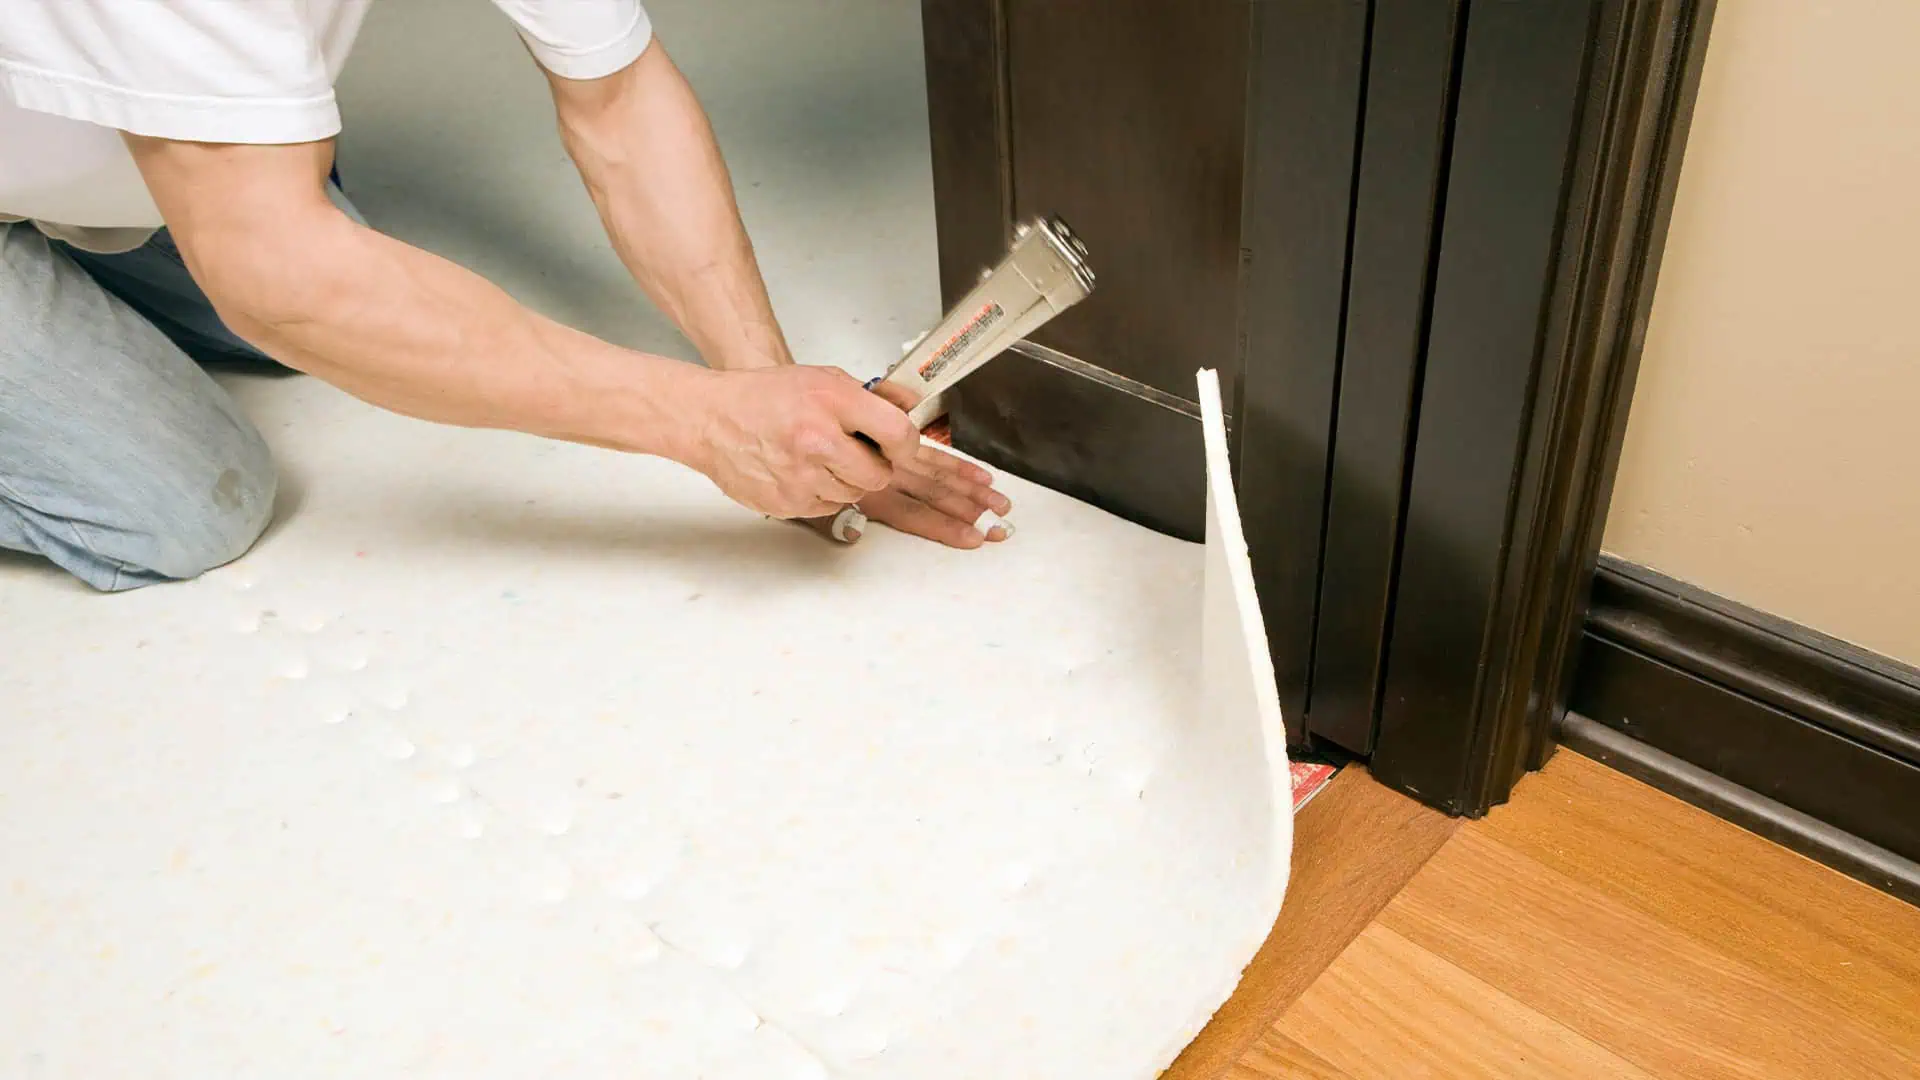
Once you’ve reached the end of the room, chop off the roll so that the underlay very slightly overlaps the gripper at both ends. Use your utility knife and a straight edge to make a clean, accurate cut.
Set the roll aside and use your staple gun to fire a few staples through the end of the underlay to secure it to the subfloor, just inside the gripper rods (room side). If you’re installing on a concrete subfloor, you will need to use a quality spray adhesive instead to stick the underlay directly to it.
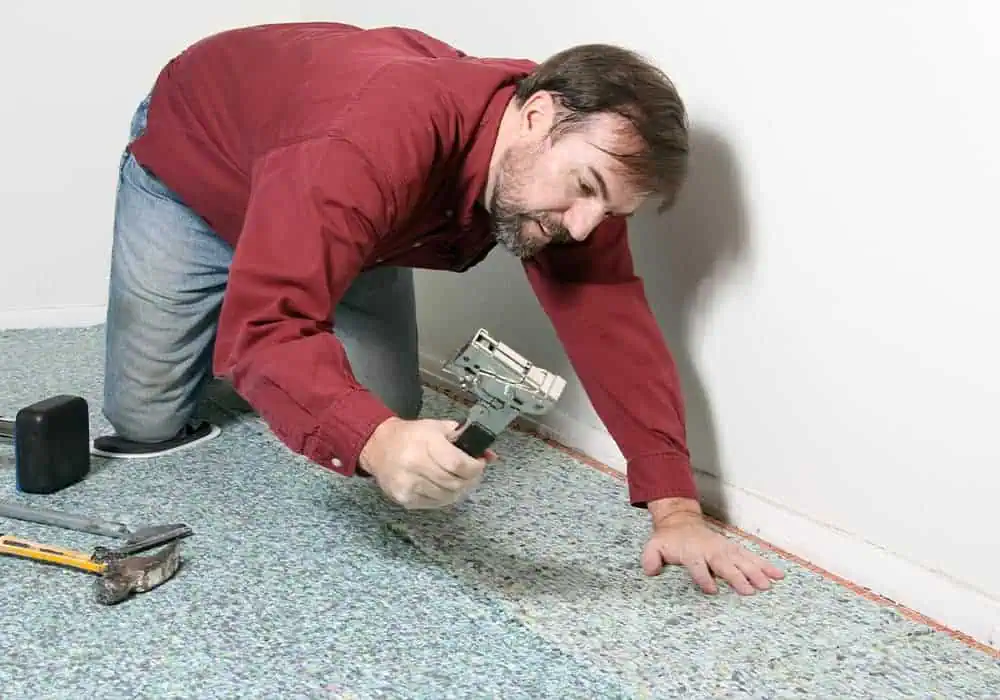
Pull the row of underlay taught and secure the other end in the same way, keeping the underlay as straight as possible. On the first (and last) row, you should staple or glue along the length of the perimeter, just inside the gripper rod. Your fitter will use a knee kicker to stretch the carpet on the gripper so any underlay which butts up to it must be fixed securely so it doesn’t dislodge during this process.
Once the ends and perimeter are secure, staple the underlay at 30-40cm centres all the way along the row. Again, if you’re dealing with concrete, spray a line of adhesive underneath the underlay every 30-40cm instead.
Well done – that’s your first row of underlay fitted!
Repeat this process across the room, making sure you butt up each subsequent row of underlay as closely as possible to the previous one without them overlapping.
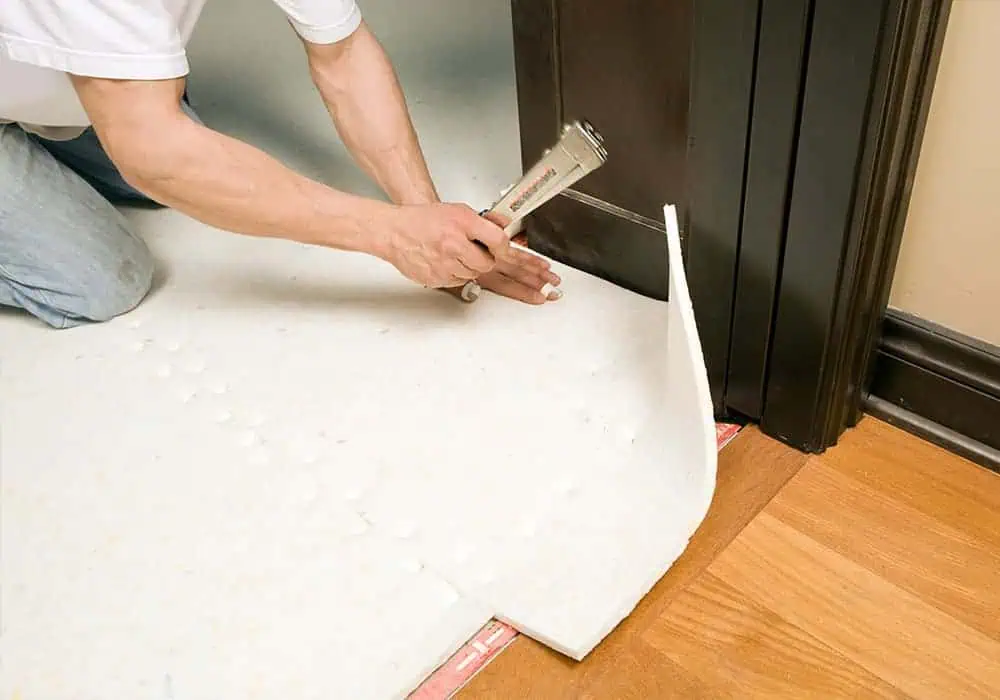
Cut around any doorways using your utility knife, keeping as close to the gripper as possible. For awkward spaces like bays and recesses, you can cut multiple pieces of underlay to suit (think of it like a jigsaw puzzle). However, try to make each piece of underlay as large as possible because you want as few joins as possible.
Step 5. The finishing touches
Once you’ve laid and fixed your carpet underlay, there are a couple of finishing touches:
First, trim any bits of underlay that overlap the carpet grippers using your utility knife. Make the cuts as clean as possible, leaving the edge of the underlay as close to the gripper rods as possible.
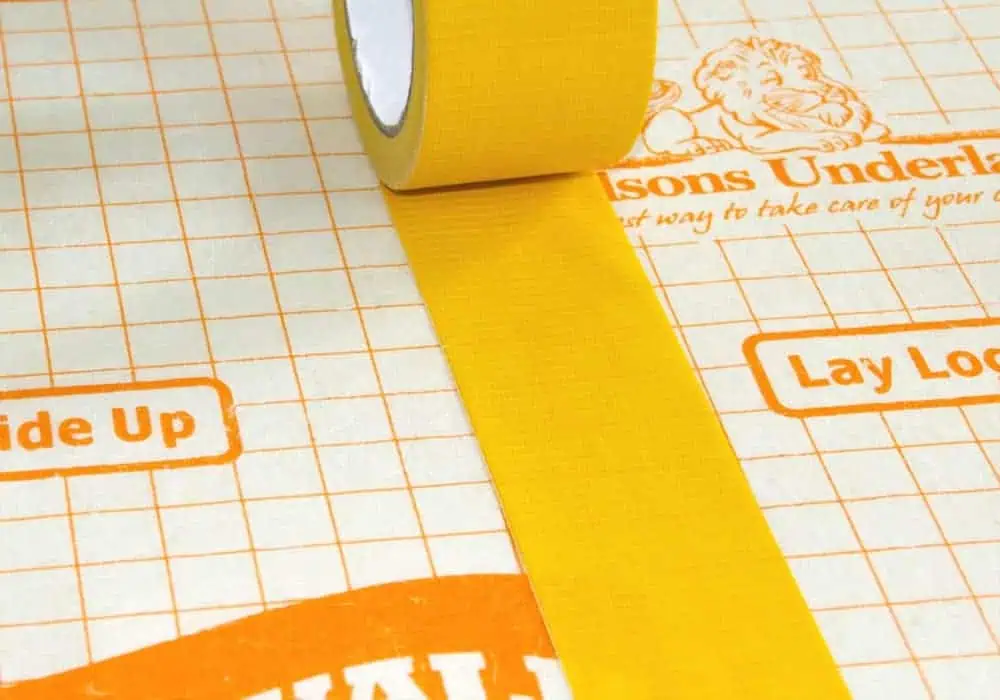
Last but not least, tape anywhere the rows of underlay join. This stops any lines/indents from showing in your carpet, prevents the underlay from moving around or rucking up during the carpet fitting process and has the added benefit of increasing thermal efficiency and sound insulation.
You can use duct tape, silver tape or specialist underlay tape for this process. Whichever you choose, simply tape the full length of each join and you’re done.
Time to admire your handiwork
If you made it this far, congratulations – it’s time to step back and admire your hard work. It may have taken a while, and it can be fiddly at times, but you’ve just saved yourself some money that can be put towards other aspects of your renovation.
If you need advice on the right underlay and accessories for your project, get in touch with our expert team at contact@simplyunderlay.co.uk and we will be more than happy to help.